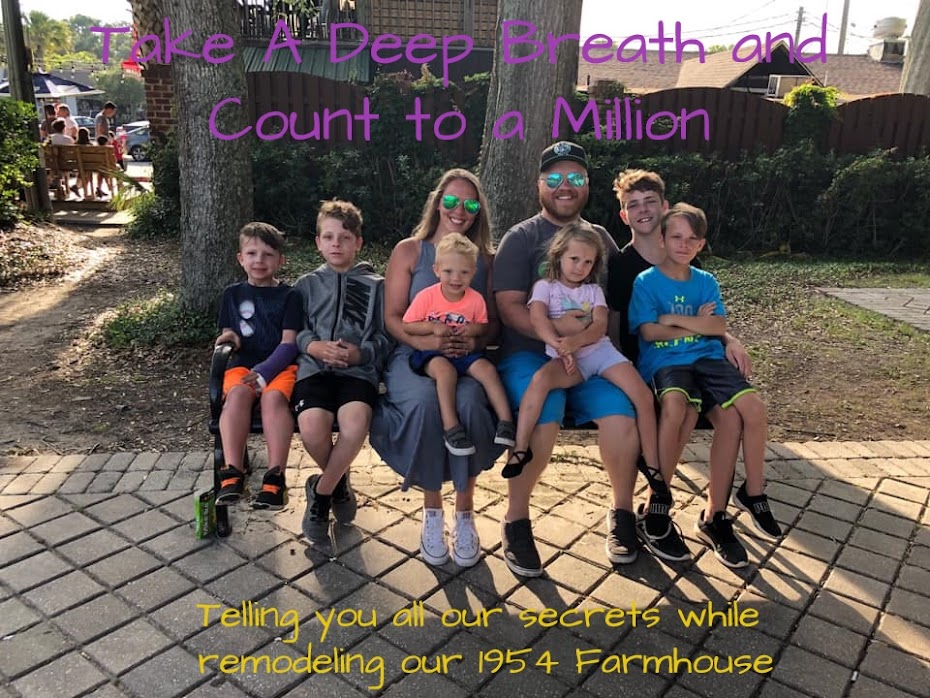
Josh and I have been remodeling this old 1954 farmhouse now for 2 years.
 |
| The day we decided our life wasn't crazy enough and fixing up an old house sounded like fun. |
 |
After two years we have made HUGE progress!
(But it's still not done)
|
Two long full years.
We have learned a lot about DIY projects.
Some have been major fails while others have turned out pretty awesome!
We used a ton of blogs to help our journey to what I’ve labeled “Redneck Reno”
and figured I should finally sit down and post what worked for us and what didn’t.
So here goes.
Let’s talk about the one area I had the hardest time deciding on.
Floors
I searched for floor types, colors, stains, durability and ease of installation for months.
After trying desperately to save the hardwood floors we found under the carpet and linoleum we realized it was a total fail.


I called this house “the house of many flooring” because while most of it was hardwood, it was several kinds of hardwood and worst of all, it seemed like every room went in different directions.
While my OCD has been tamed greatly with having 6 kids, this drove me INSANE!!
So the hunt for flooring began.
We helped install a friends flooring that she purchased from Home Depot. It was the cheaper stuff you find that’s tempting to use because.. well.. it’s cheap and they have a good bit of styles to chose from.
If you take anything away from this blog, please let it be this.
DO NOT BE TEMPTED TO BUY THE CHEAP FLOORING FROM HOME DEPOT OR LOWES!!
Just don’t.
It has pieces of laminate in this very cheap vinyl flooring and anyone who has ever owned a piece of laminate furniture knows what happens when water gets on it.
It buckles.
It expands.
It ruins.
So just don’t.
The way I tested flooring was to get a scrap piece or a sample piece and submerge it in a bucket of water for a week.
Sound dramatic?
It’s not. I do not underestimate my children at all now.
If it changed at all, it got marked off the list.
I searched online. I searched in stores.
I googled Pinterest and design blogs.
I called companies and got samples.
And then I found it.
I saw my flooring.
But of course I had to test it.
So I got a sample piece and went home, honestly expecting the worst.
I should mention that by the end of day 1 most of my sample flooring had begun to lose shape and buckle. Only one lasted until day 5 before it began to buckle and fall apart.
So my hopes were pretty low.
After day 5 I was pretty excited to see nothing on this new flooring sample had changed. And I mean nothing.
On day 7 it looked exactly like it did when I submerged it in my bucket of water.
I am fairly confident the heavens opened and God had heard my desperate prayers.

I went back to Anderson Carpet and was surprised to see they had the same flooring in different colors and designs.
Now, I choose flooring not based on decor.
I want classic.
I want timeless.
So as much as my heart wanted a gray flooring, I knew I had to stick to a more natural color flooring.
I ended up going with
Chestnut.
Brand was BEAU FLOR (not a typo)
Parkway click
Luxury vinyl tile collection.
It’s 47.64” L x 6.95 W x 3.4MM thick.
Each box comes with 12 planks to a box that covers approx 27.60sqft

Installation was pretty easy!
You’ll need just a few tools.
We cut our planks with the table saw but any saw will work.
Table saw was just easier and faster for us.
These planks will dull your blade out so you'll want to replace it when you are done.


It took us longer than we expected because we realized this old house doesn't have even floors OR even walls.
But once we got the hang of linking the planks together it went fairly smoothly.
The way we laid them was doing a solid row in the direction we wanted (which I learned the correct way to pick the direction is by figuring out the greatest length of any row. Because our hallway shows in the living room we had to lay ours opposite from what the current flooring in the main area was laid) no biggy. I prefer them running this way. :)
After many many days we finally finished the majority of the flooring in the main area and hallway.
And all the hard work was well worth it!
Check out the before and afters!
I probably should be get nice professional-ish photos but I haven't yet. Sorry guys. This is real life living)
 |
 |
| The beginnig of trying to save the orginal hardwood floos. Before we knocked out the walls. |
 |
| The kitchen was just ugly worn plywod. |
 |
| Before we had several floors that didn't match |
 |
| See why I called it the house of many floors? This was just 3! We had 4 more types through the rest of the house! |


 |
Here is another type of flooring we found under carpet! Different direction too!
We now love our floors! We can steam mop, spill stuff and never have to worry about them being ruined!
As a huge bonus, they hide dirt almost too well!
The price point was my favorite part of these floors. I will have to get the exact price but I think we ended up paying $2.09 per sqft for this flooring. We got it while it was on sale plus we received a discount for buying in bulk.
Can't beat that price for amazing flooring that you wont ever have to replace!
***I am not getting paid to promote this product***
|
Plywood shiplap
Rock climbing wall in kids bedroom
Inexpensive kitchen countertop makeover
Inexpensive kitchen island using stock cabinets
Inexpensive curtain rods (copy cat version of expensive ones!)
Inexpensive DIY $5 curtains